How To Install Fonts in GIMP {Windows, Mac + Linux}
The method for installing fonts in GIMP is the aforementioned regardless of your preferred operating system. I'll evidence you how to install fonts in GIMP for Windows, Mac, & Linux users!
Plus, the method is too the same for GIMP 2, GIMP 2.8, and GIMP two.10.
We'll outset off past locating and downloading gratis fonts. So, I'll evidence you lot exactly where to identify your new font in your operating system.
Ready? Let's do it…
Free vs. Premium Font (s)
The kickoff thing you'll need to do is detect a font or ii or three. Pretty obvious, I know. What'southward non and then obvious is the difference between gratuitous and premium font (south).
Allow'south take a look at those differences get-go, and then I'll share my favorite places for free fonts.
What's the divergence between free and premium? Other than the obvious, when it comes to "how much," there are slight differences. They come in all sorts of shapes, sizes, and styles.
Font creators take to adhere to specific standards for them to piece of work with various software. Depending on their goal for a font, they will either offer a free license or make up one's mind to sell it at a premium.
Some specialize in the creation of font (s) and make a living doing information technology! Fonts, similar any type of created work, are copyrighted. This includes both a gratis and a premium one.
When working for a customer, yous'll demand to confirm the font beingness used for the projection has been appropriately licensed for commercial piece of work.
That being said, there are thousands of free ones you lot tin can download for commercial utilize.
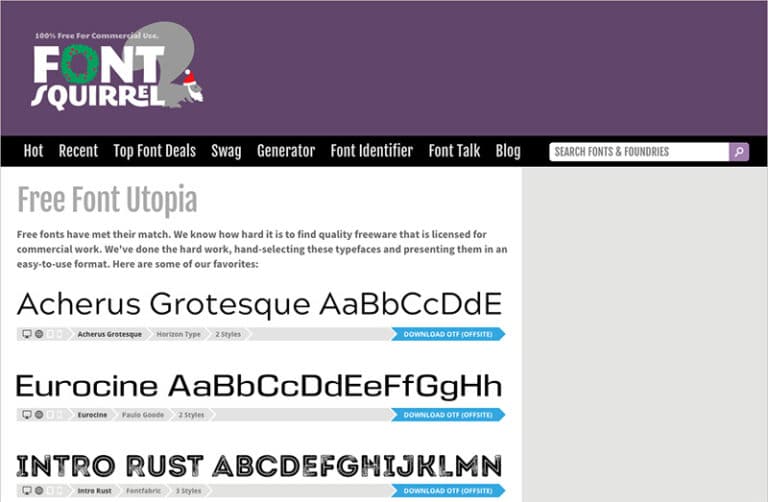
Pace 1: Where To Download Costless Fonts
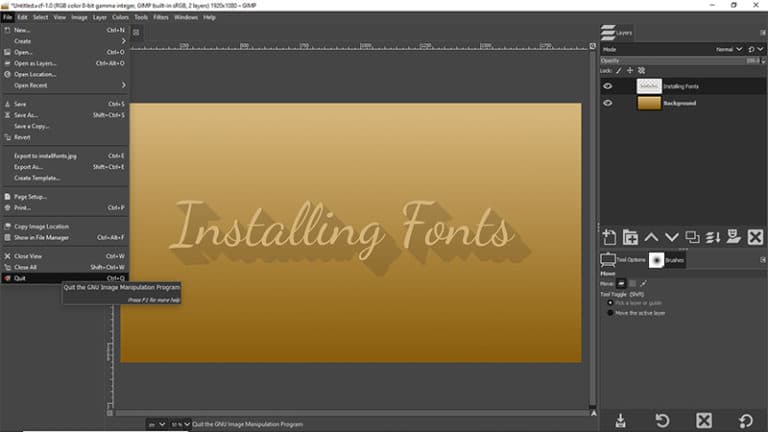
Pace two: Add Fonts To GIMP
Now that you've downloaded a font or two, it's time to add them into GIMP.
The method for installing your font involves the aforementioned process whether you're using Windows, Mac, or Linux. The key is to find the home folder for your fonts.
The habitation folder is easy to discover inside the Preferences of GIMP. First, open Preferences by right-clicking on the (middle) of the GIMP interface. Go to Edit > Preferences.
Now that Preferences is open, scroll downwards the left panel locate the "Binder" choice, and expand. Inside, notice the "Fonts" option and select it. To the correct, you'll run across two or more paths.
This depends on if you have an older version of GIMP, like 2. In the prototype higher up, you can meet I have two versions of GIMP; ii.10 and 2.0. The other option is for fonts located on my operating organisation.
Brand sure to select the correct one! Otherwise, the font (s) will non exist linked to GIMP. In this case, I highlighted the binder path with "Roaming" and would recommend you do the aforementioned.
GIMP makes it easy to navigate to the home folder with a push button in this same Preference window. Locate the icon (to the correct) labeled, "Show file location in file manager." Or something to that effect, depending on your operating arrangement.
A window is now open showing the folders in this location. Double-click on the "fonts" folder to open it.
Now that you lot have the correct folder open, locate the font(s) you downloaded and unzip if needed. Either double-click the file to unzip or right-click and select "unzip" from the menu.
Inside, you'll detect several files. There might exist several files for the same font family. This is due to the various styles available for it, like; bold, italic, thin, etc.
Other file types might exist present too. This tin include things like a text file with install instructions, copyright info, and more. You can ignore those files.
Make a choice of all the font files and drag them into the "fonts" folder. Boom! Your fonts have been added to GIMP. However, there is one more pace…
Pro Tip:
Depending on where you downloaded the font from, it may have one of these two file extensions; .otf or .ttf. These extensions are used to indicate the file is a font.
TTF stands for TrueType Font, and OTF stands for OpenType Font. TTF is a relatively older font, and OTF is based in part on the TrueType standard.
Step three: Refresh GIMP To Finalize Installation
GIMP won't recognize your newly installed fonts until yous restart it! Go ahead, restart GIMP, and create a new sail to meet if it's been installed correctly.
Either check for the font in the text box or via the tool options. Either fashion, type in the name of the font to find and employ it.
Pro Tip:
The method provided above for adding fonts to GIMP volition simply make them attainable to GIMP. Suppose you'd like to install them for other software to apply.
In that instance, they'll need to be installed into the operating organisation location where fonts are stored.
The easiest style to install fonts for all software is to double-click the font file. This will open a new window showing the font at different sizes. Locate the "install" button and click it to add to your system.
Did you know typing text isn't the only thing y'all can do with fonts in GIMP? Fonts are only the starting time for more than creative projects. For example, I've created over 20+ text event pattern tutorials y'all can brand in GIMP.
Y'all might be surprised to know that installing brushes into GIMP is similar to installing fonts.
Looking for the friendliest design customs on this side of the sun? If so, look no further than the individual community I created here… oh, and it's costless!
Similar this commodity? If so, please share!
clarktherromes.blogspot.com
Source: https://parkerphotographic.com/how-to-install-fonts-gimp/

0 Response to "How to Upload a New Font to Gimp"
Postar um comentário